
How To Draw A Christmas Tree: Christmas time is here again and you don’t want to look like a fool when your nieces and nephews randomly ask you to draw a Christmas tree after dinner. I promise this drawing tutorial will be easy to follow! Once we’re done, you’ll be able to draw one even if you’re drunk.
Learn how to draw a Christmas tree with this unique drawing tutorial. This step-by-step guide will teach anyone from kids to adults how to draw an amazing tree from start to finish. Create a slightly larger base to make room for drawing a fun collection of Christmas decorations. Post your amazing artwork online or share it with family and friends on your holiday visit. No matter what level of skill you have, don’t fear taking a shot at drawing a Christmas tree with this guided tutorial; the best way to get better is through practice. Search the guide below to find tips and tricks that form the best Christmas trees around.
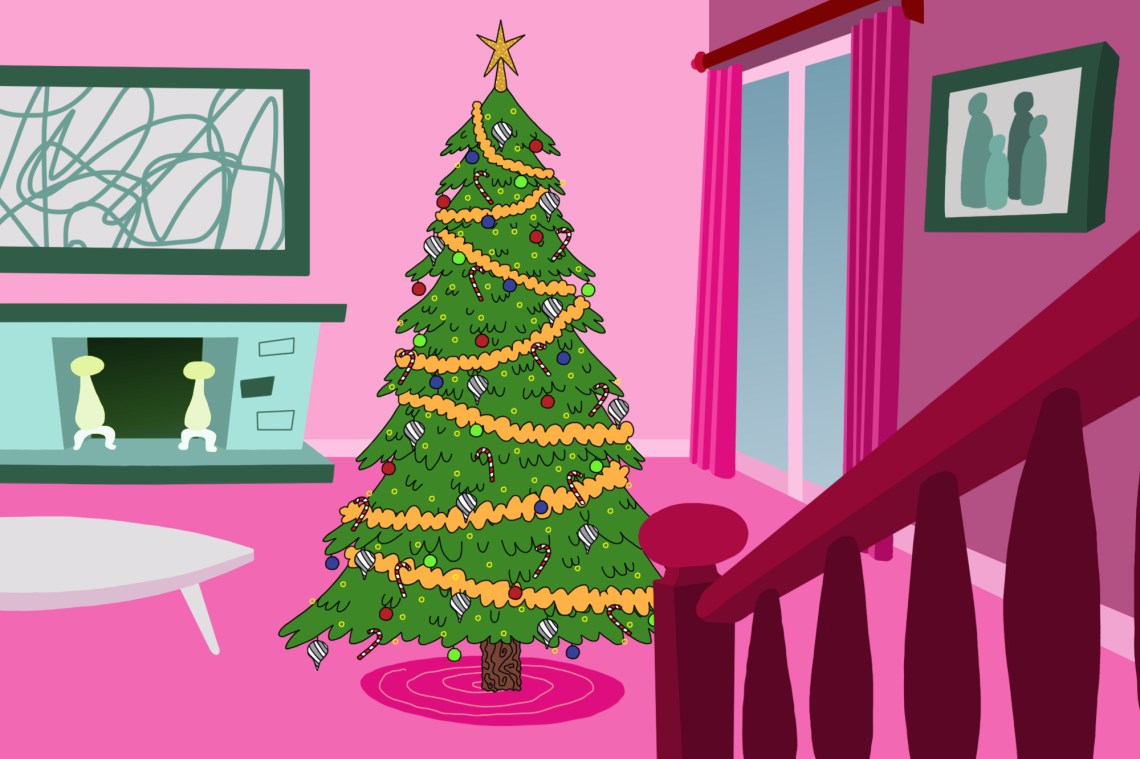
Christmas Tree Drawing
Step One: The Concept
1. First, let’s think about Christmas trees. Any distinct shapes that come to mind when you think about them? If you guessed “triangle”, then you are correct! Christmas trees are just a bunch of series of triangles.
Step Two: Getting the Form
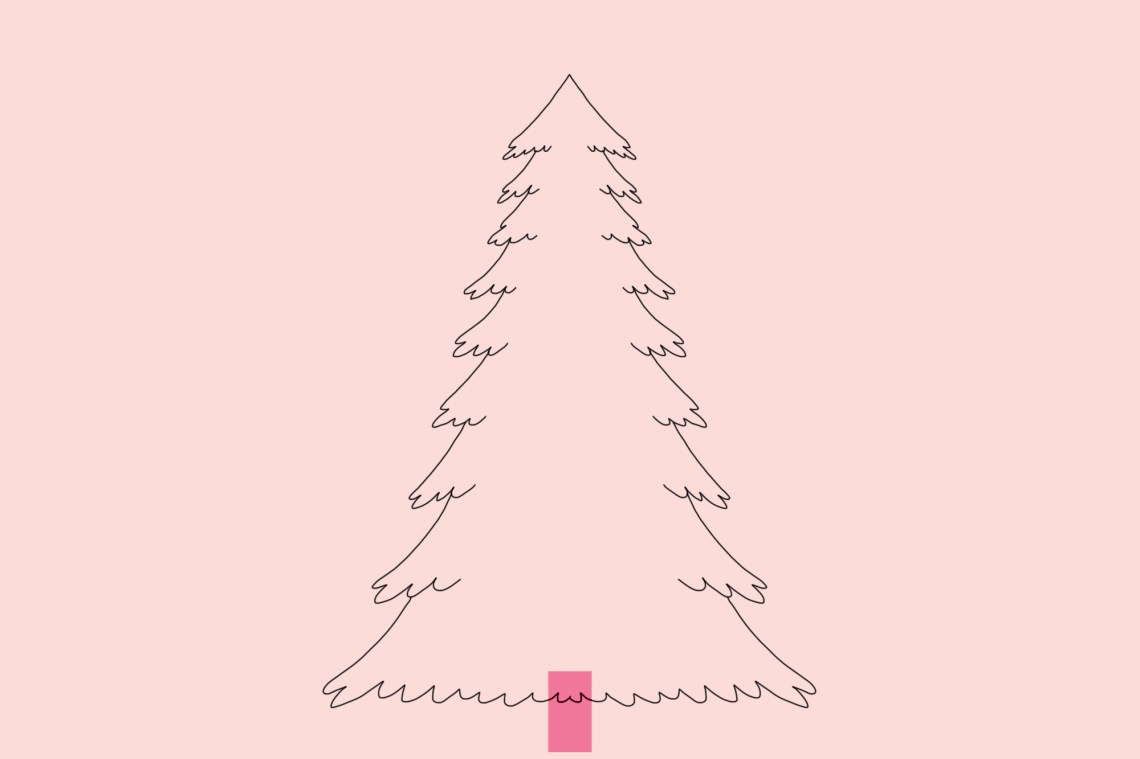
2. Now that the tiresome brainwork is out of the way, let’s begin. We’re going to start by drawing one big triangle. I’m making mine an isosceles triangle since I think they’re swell.

3. Next, we can draw the trunk which can just be a small rectangle at the bottom.

4. Now is when we get crazy. Place a much smaller (and wider) triangle at the top of the tree.

5. Add another similar (and slightly bigger) triangle underneath that one.

6. Repeat until you’ve got triangles on top of triangles, son! Your tree should sort of look like this when you’re done with it. We’ll be using these smaller triangles as our guides for each branch set.
And don’t worry if yours looks lopsided or uneven! Christmas trees aren’t ever symmetrical anyways.

Step Three: Begin Line Work
7. Next up is our actual line work. Using each triangle as a guide, we’ll carefully make each “branch”.

8. Phew! Left side is done. Let’s move on to the right now.

9. Hell yea. Looking good, my friend, looking good.

Step Four: Erase the Basics
10. Alright, now it’s time to get rid of all those cute pink triangles. Now it looks like a boring old fir tree!
Step Five: Adding Texture
11. I’m going to add some cartoon-y texture by filling in the tree with some more leaves and branches.
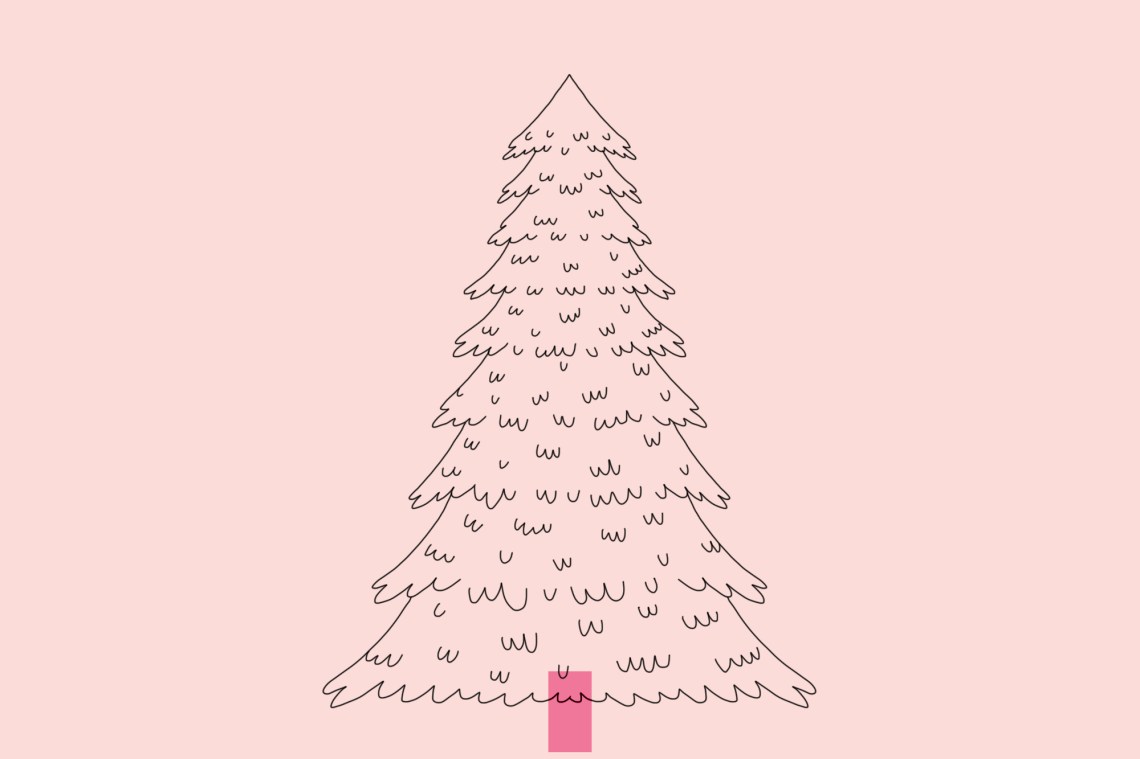
12. Hey, let’s not forget about the incomplete pink tree trunk! Let’s outline that little guy now.
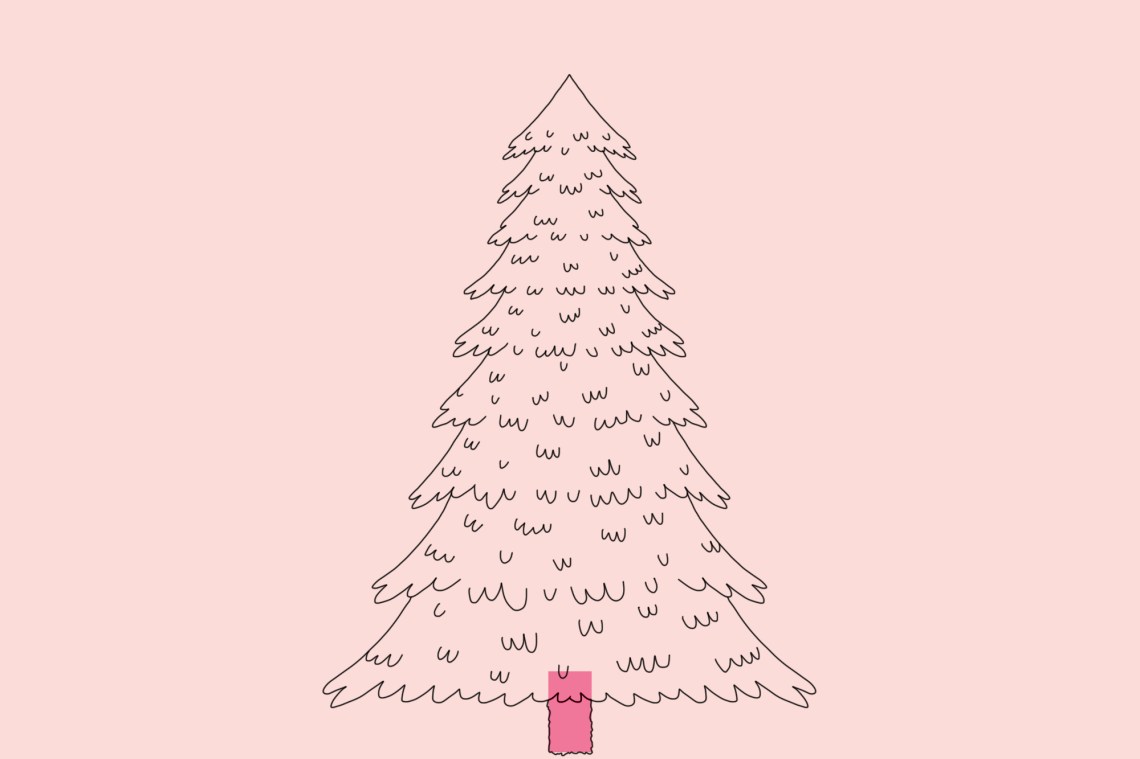
13. Take that pink rectangle outta there.
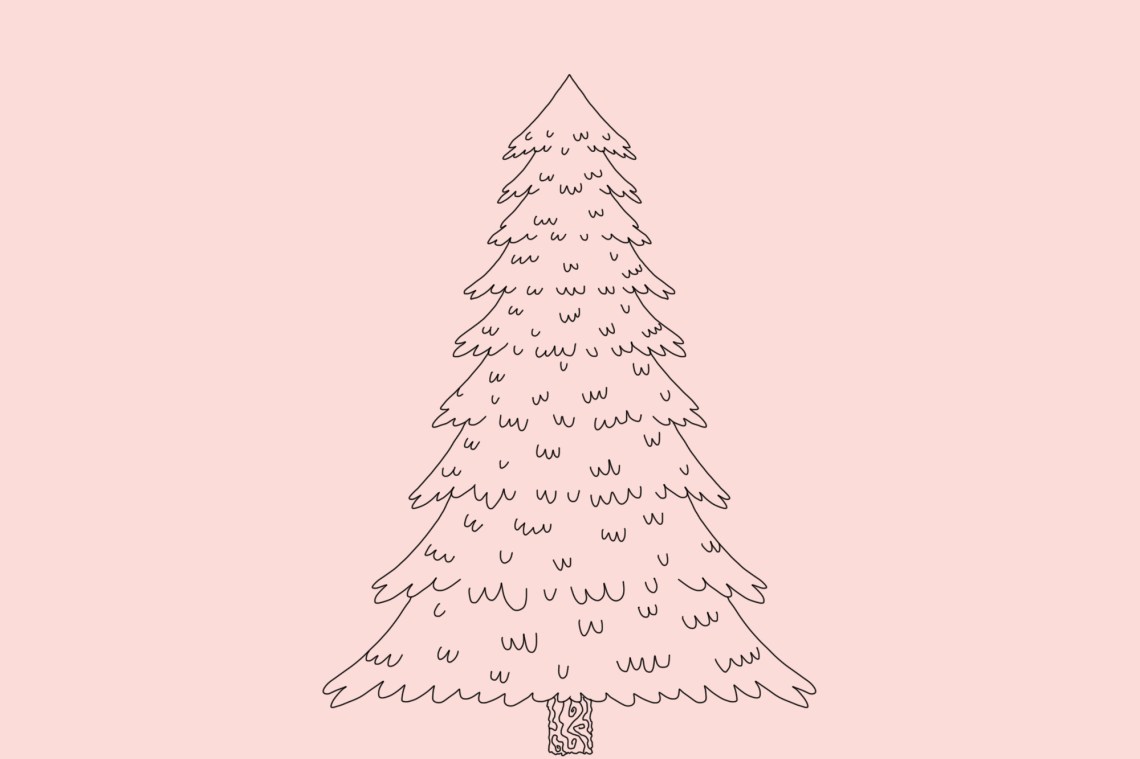
14. And this is totally optional, but feel free to add some tree grain/texture to it!
Step Six: Decorating
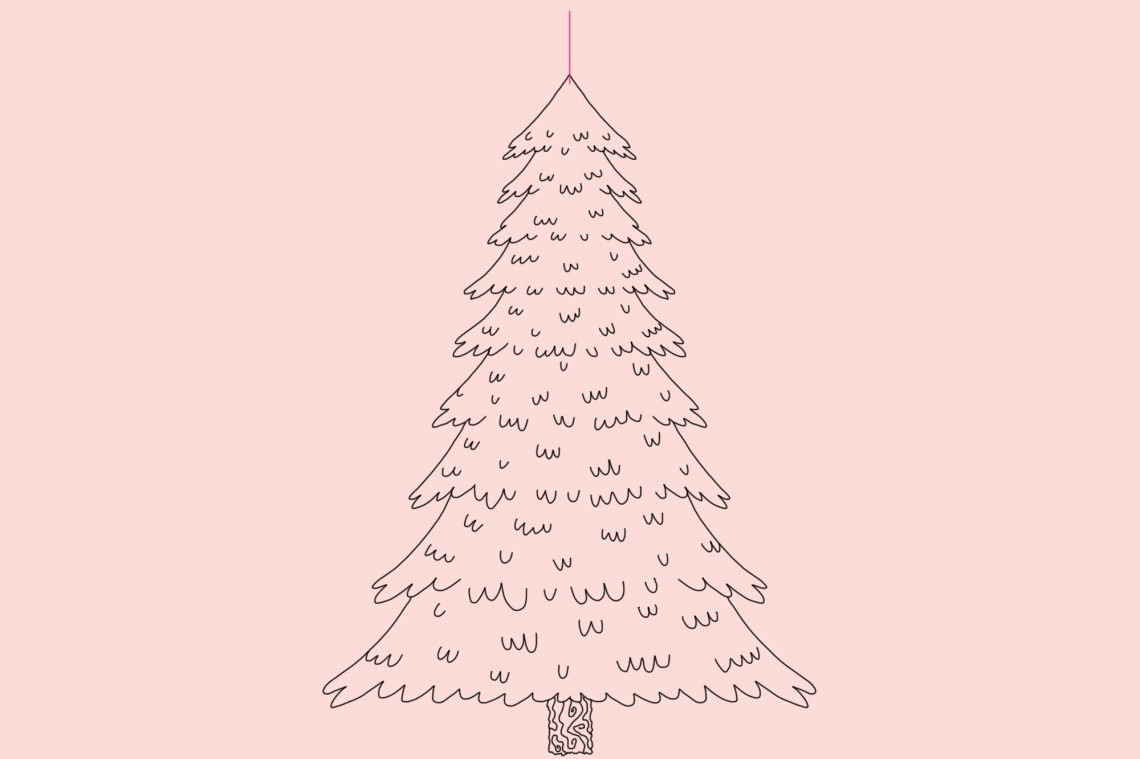
15. Here comes the fun part. Let’s decorate that Christmas tree! We’re gonna start with the star at the top. Make a short line at the top of the center of your tree.
16. Cross that line with a horizontal line. I know what this looks like, but stay with me here.

17. Stick two diagonal lines underneath that horizontal one.
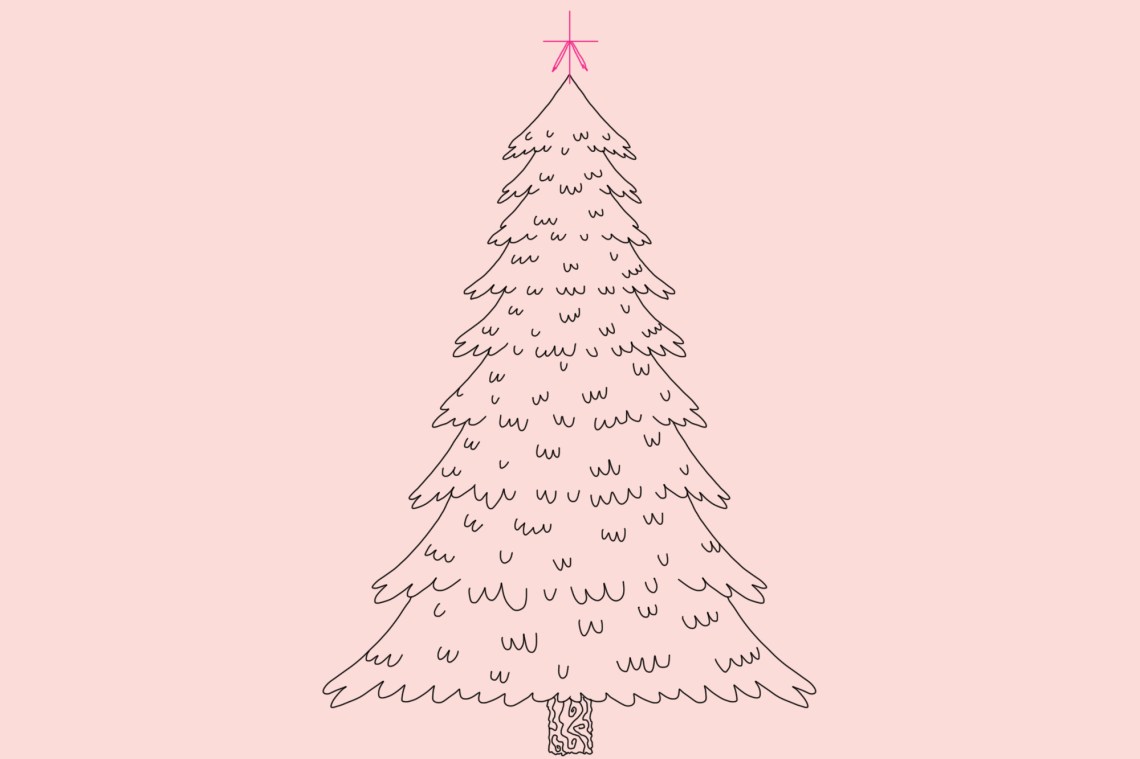
18. Do the same for the top.
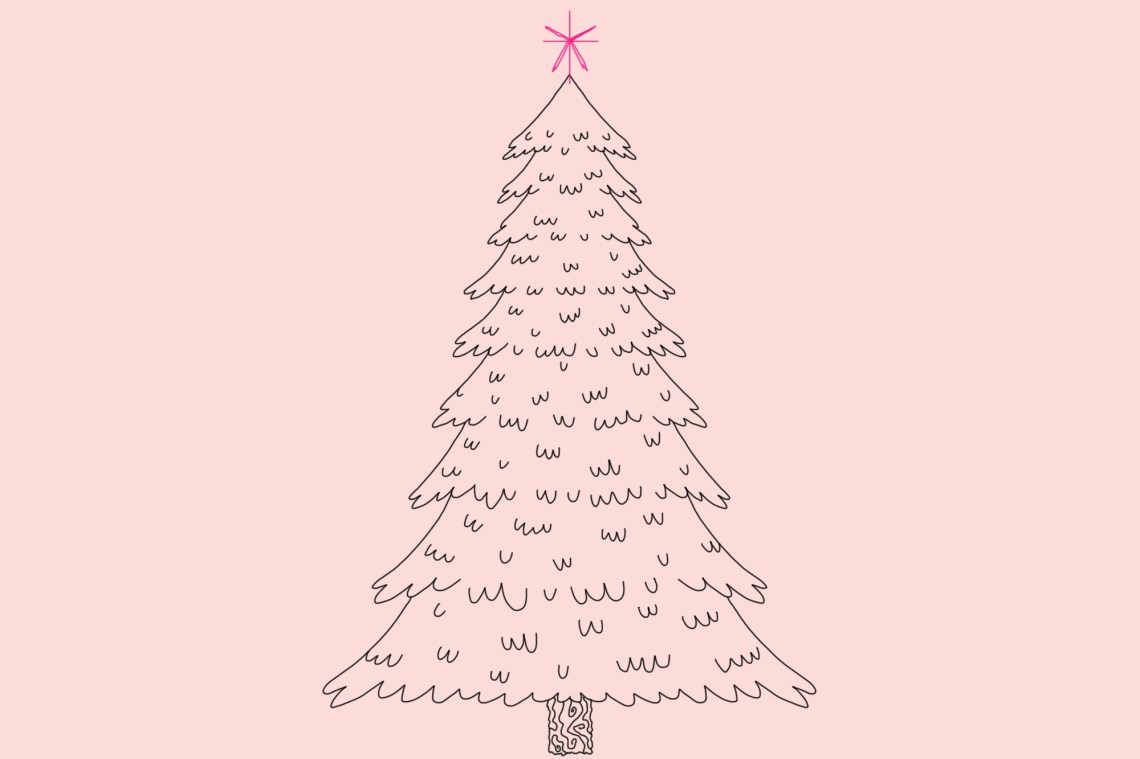
19. Now, we can ink out our star outline on top.
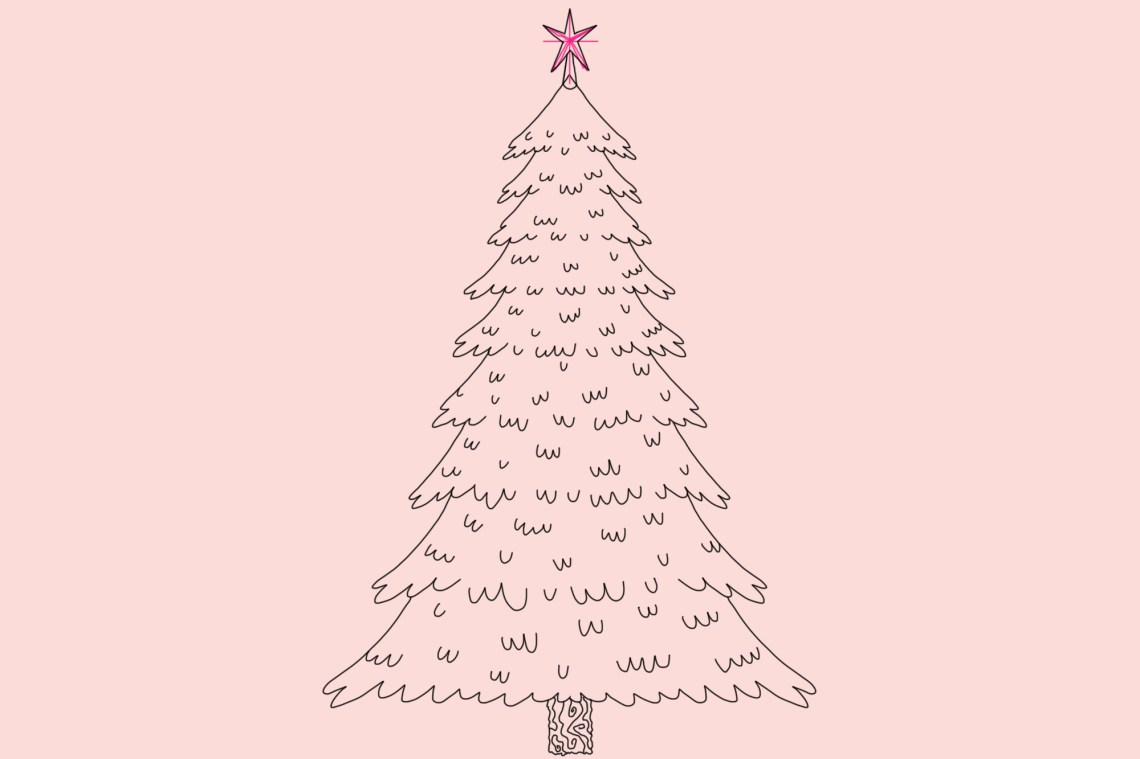
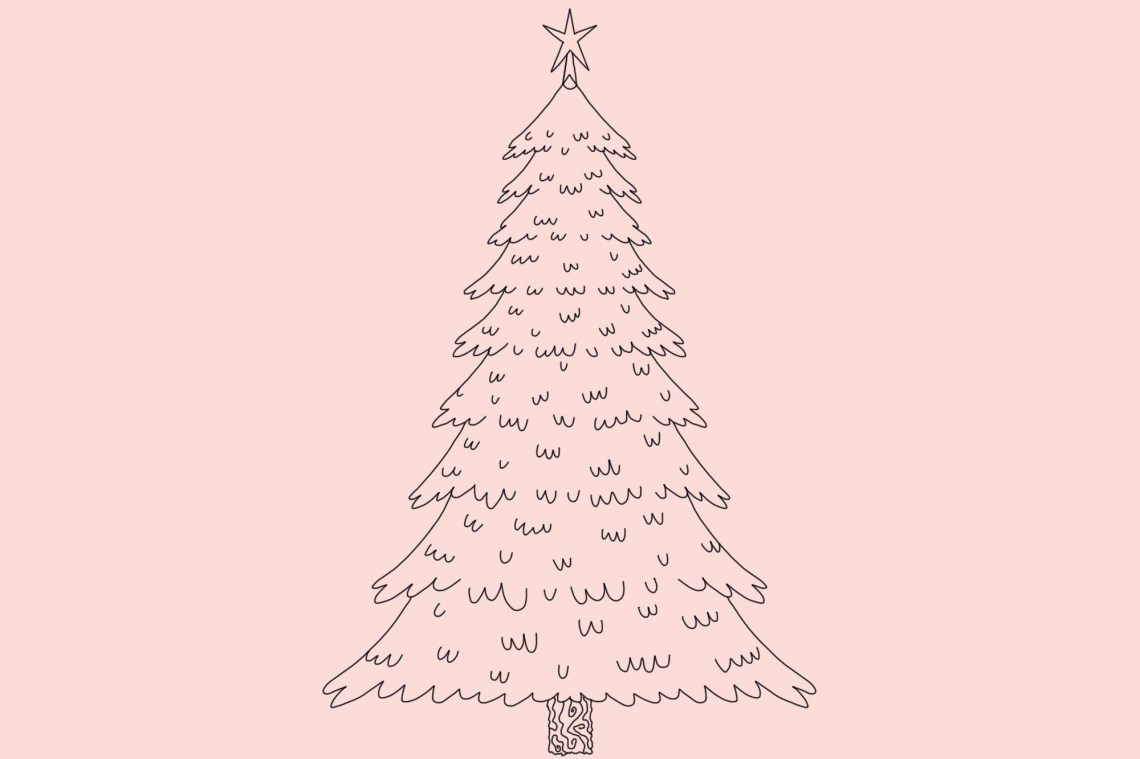
20. Erase those lines, and here we are!
21. Now it’s time for the tinsel. Make a curved arc shape at the top of the tree. It should be running in a diagonal and downward direction.
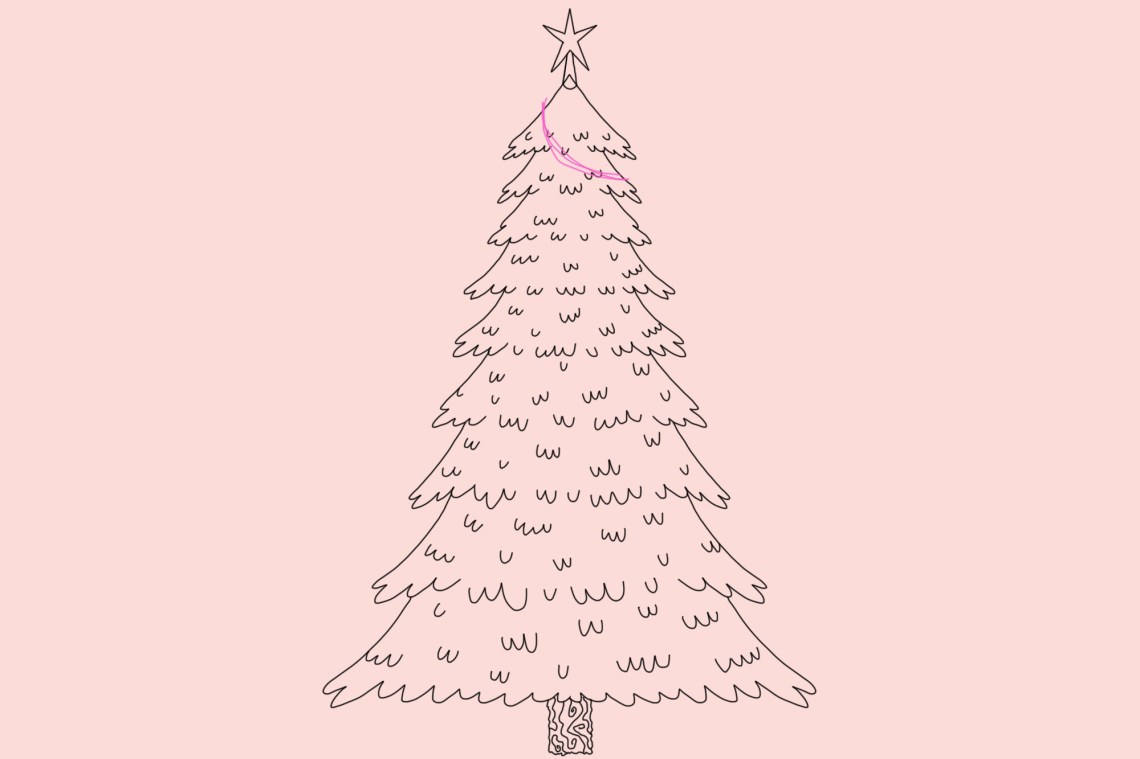
22. Add the next tinsel line and have it start where your other line ends. Got it?

23. Now keep going until you reach the bottom!
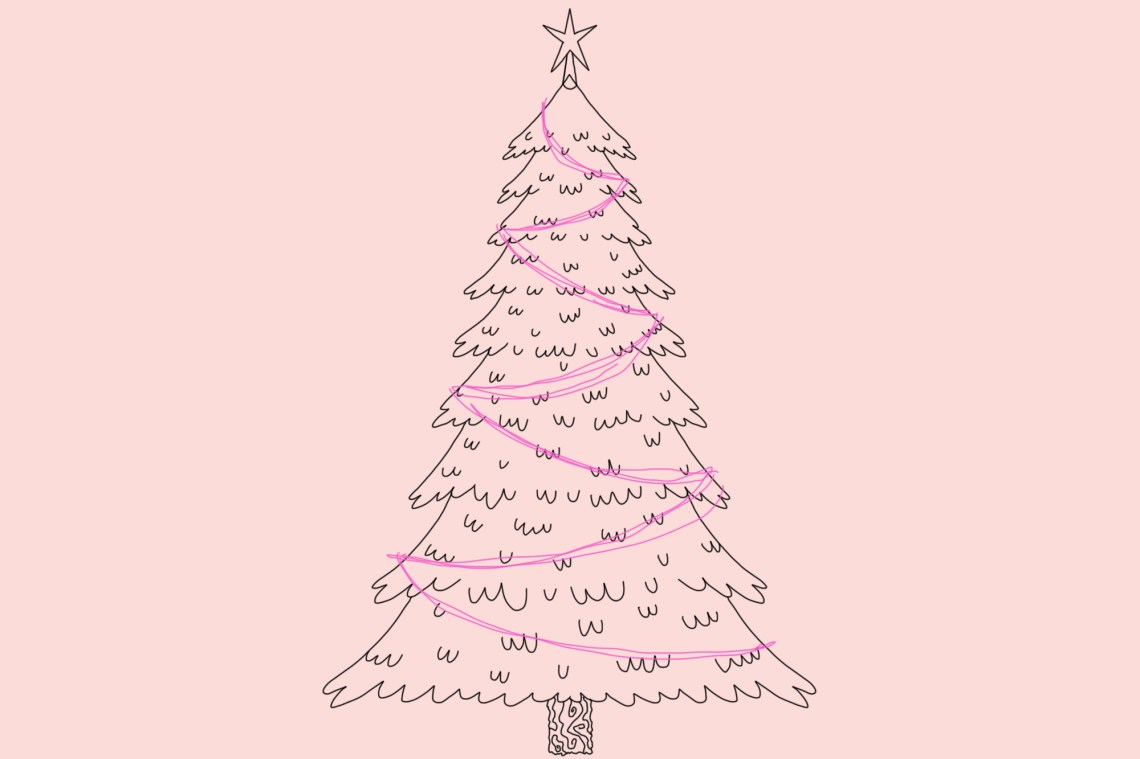
24. Then, you’re going to ink in the outline of your tinsel.
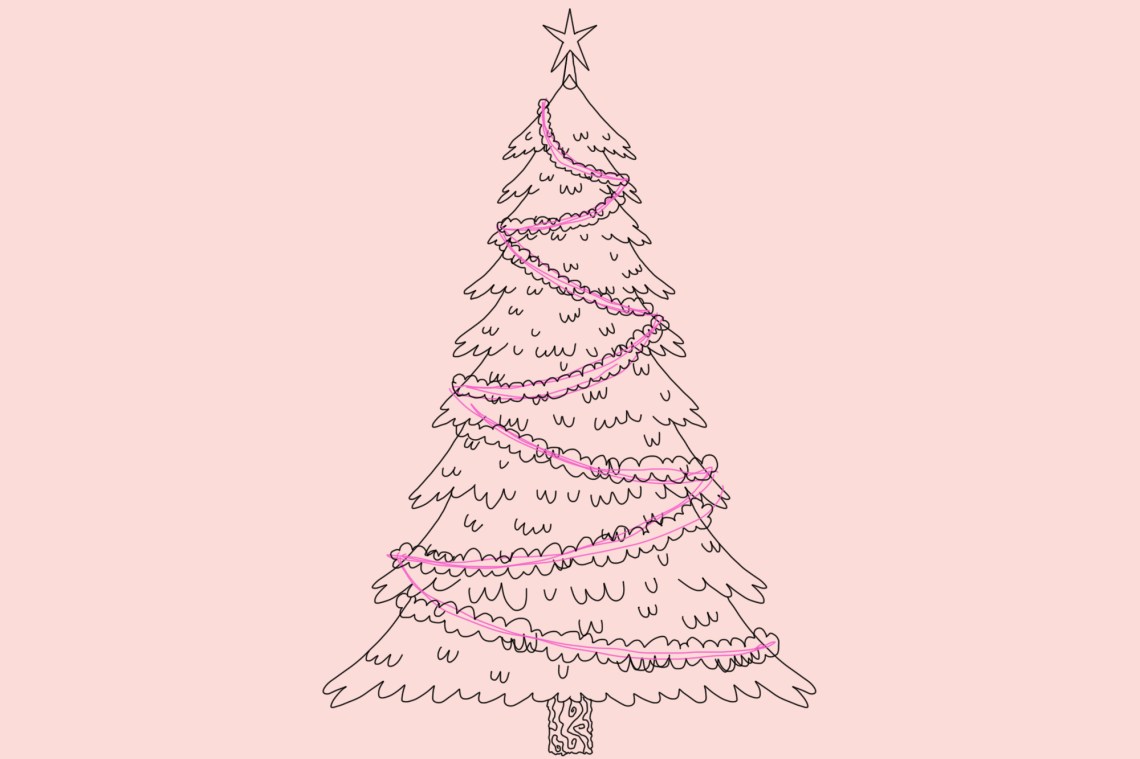
25. Clean up that rough sketch.

26. Now, let’s insert our first ornaments!
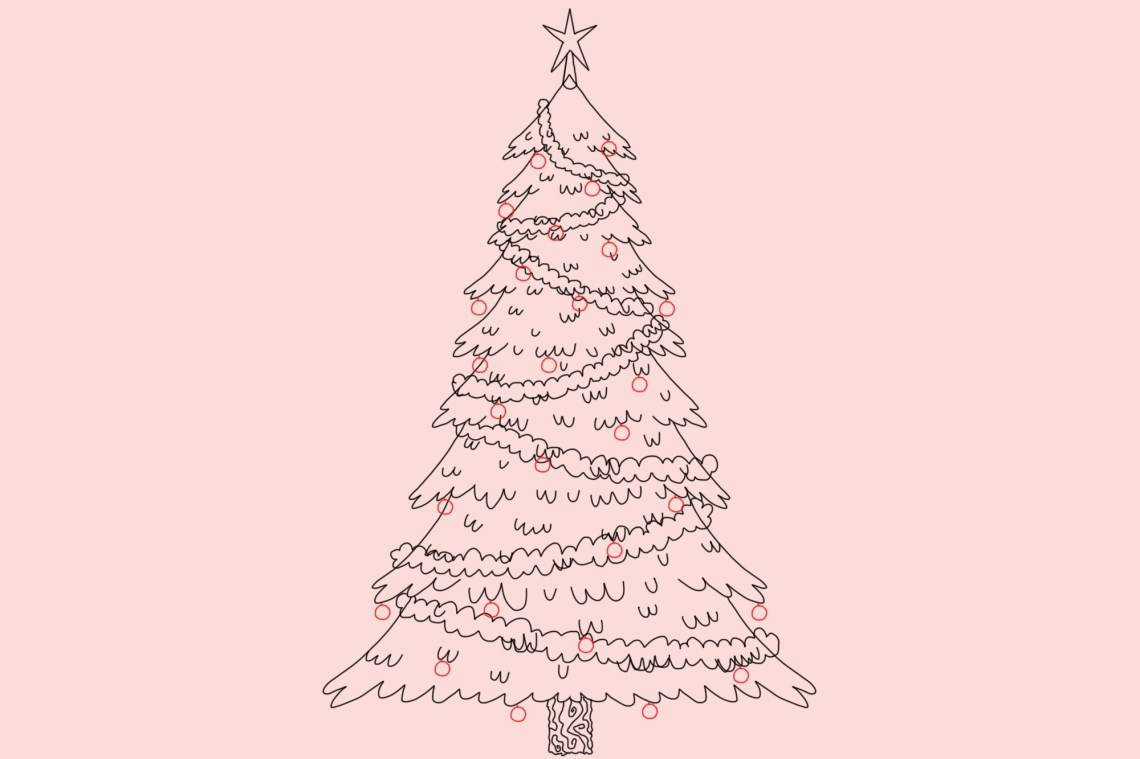
27. It’s time for our second kind of ornament. I usually like to have a variety of shapes to break up any monotonous patterns.
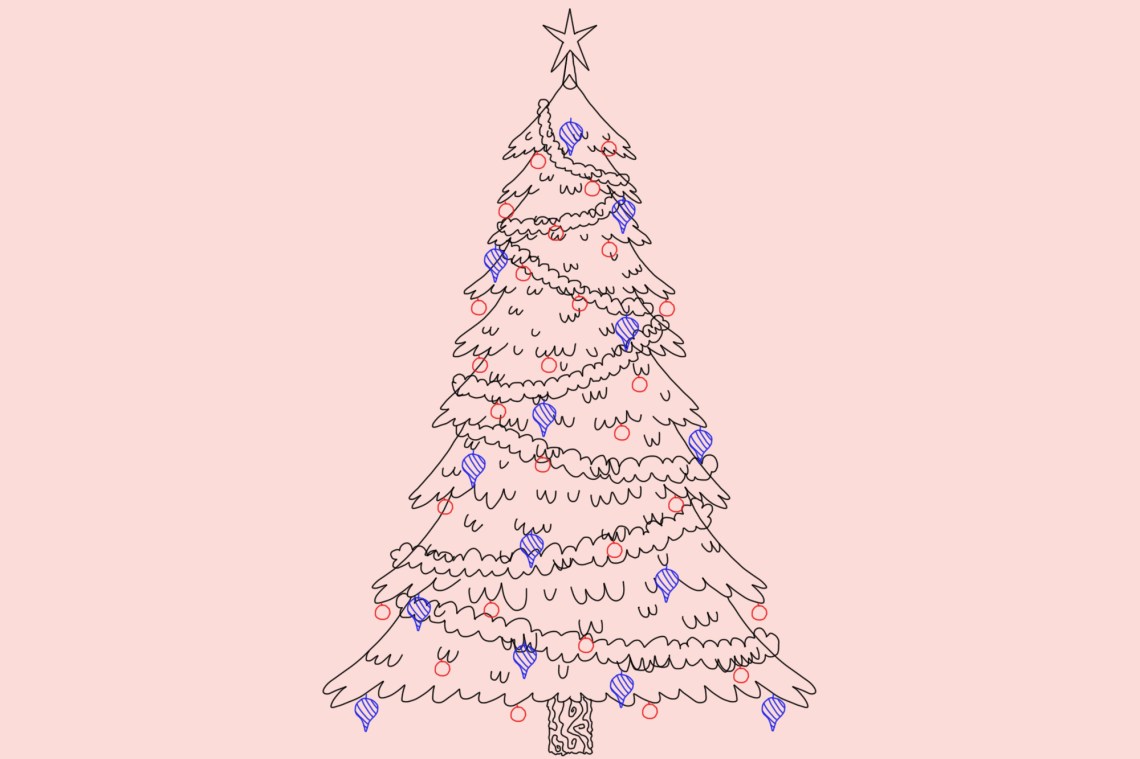
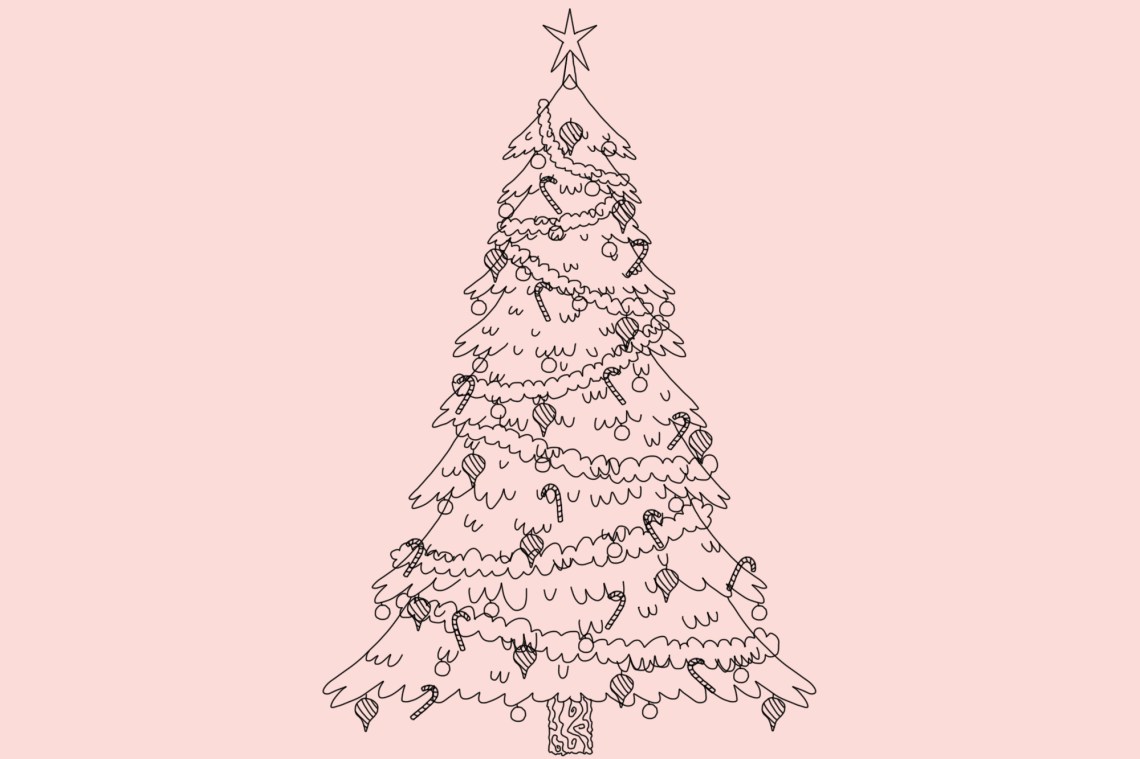
28. Next, I’m adding in some candy canes (seen here in green). Cute!

29. Now I’m inking all my ornaments in black. Hm, something seems to be missing here…
Step Seven: Color
30. Oh, that’s right! Color. Let’s finally add in that sweet, sweet color.

31. And lights! I almost forgot my Christmas lights.
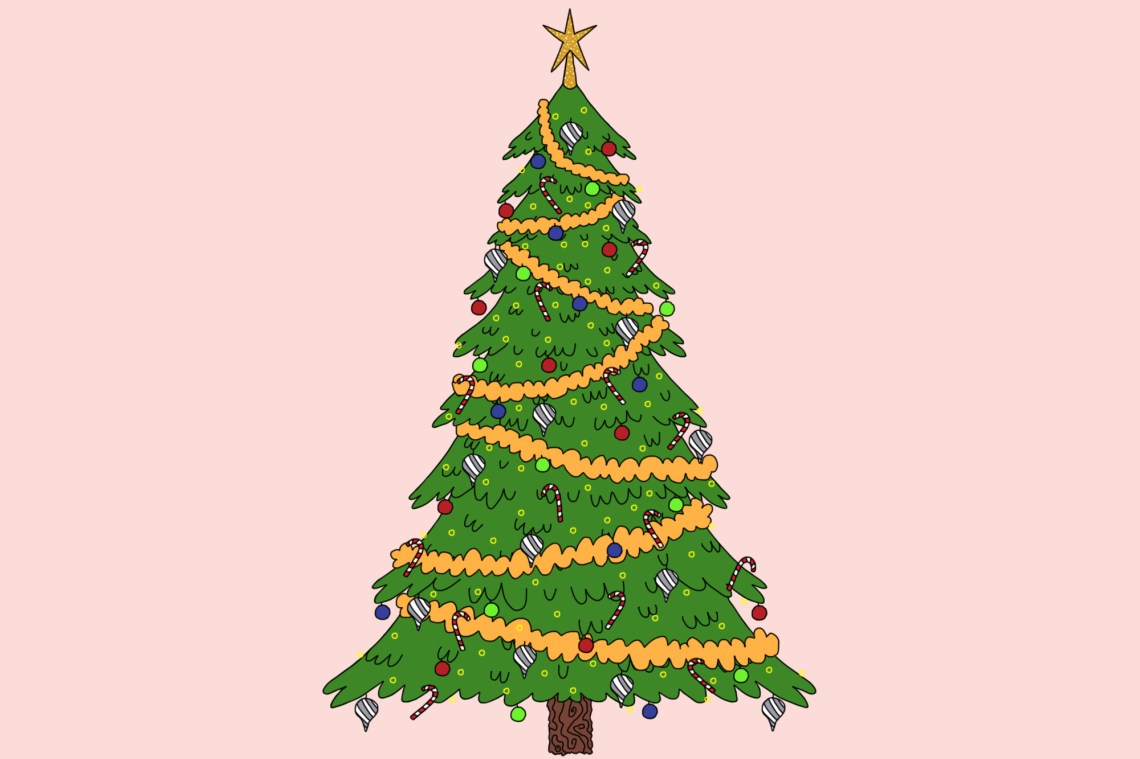
32. Still seems kind of boring. Let’s zoom out a little to make room for our special background.
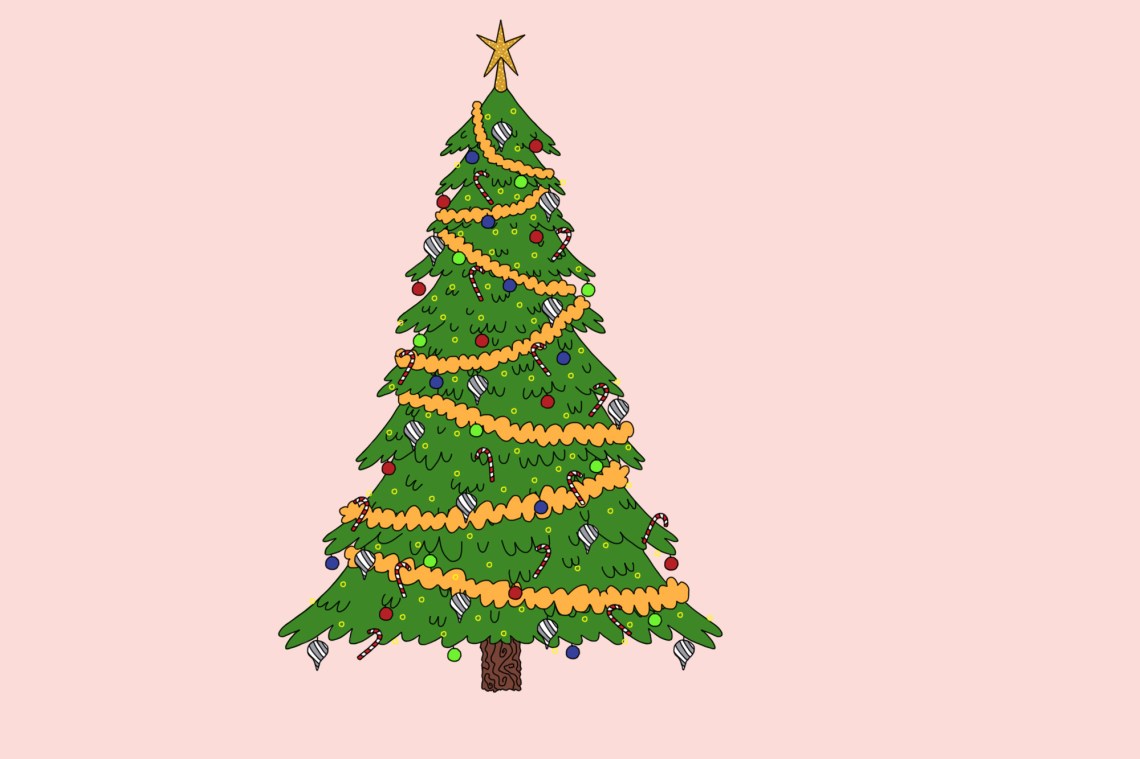
Step Eight: Set a Background
33. And there you have it! A good Christmas tree needs a good home, don’t you think?
Can you tell that I’m into pink?
Step Nine: Admire Your Hard Work
Now let’s see that in fast motion!

More Drawing Tips
For more step-by-step drawing guides, visit these awesome resources: