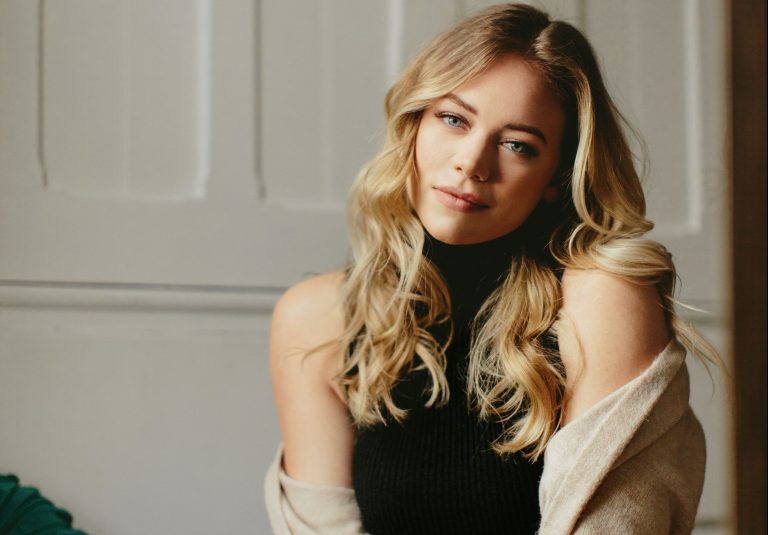
How To Get The Perfect 50s Hairstyle (Even If You Suck At Doing Hair)
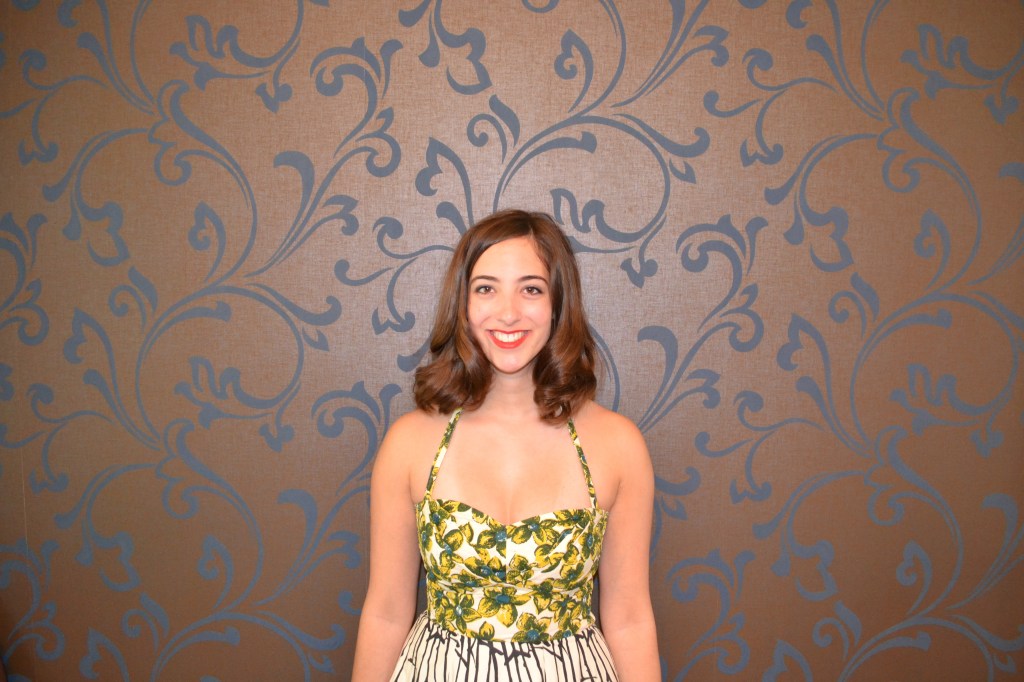
Check out the back view, too. Like the way you look? Take a page out of 1956 and lock your glamour into place with hairspray, hairspray, and more hairspray.
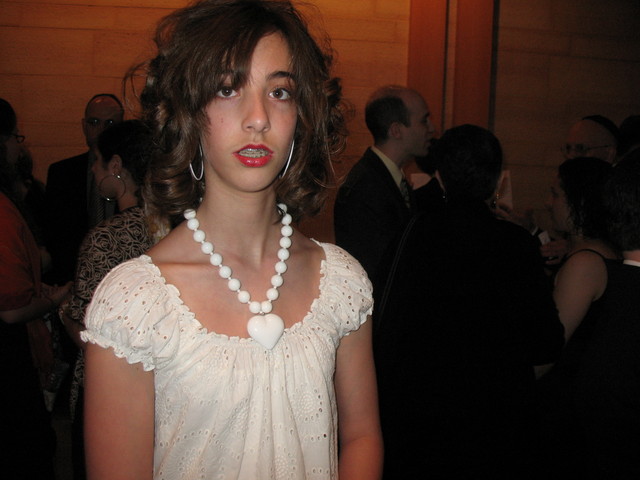
I was an impressionable pre-teen when I first discovered America’s bombshell, Marilyn Monroe. This was back when Gwen Stefani was teaching the world how to spell “banana” and dancing with Harajuku girls. When a tabloid compared her pristine platinum curls to Marilyn Monroe’s, I became obsessed. I didn’t care that my hair was long and dark, and that Gwen and Marilyn had white-blonde bobs – I just knew that I had to have that hair. I chopped my hair to my collarbones and slept on curlers specifically for the hottest event of the social season, my cousin Max’s Bar Mitzvah. I was determined to look like America’s bombshell. Instead, I looked like this.
I know, I know. You must all be very jealous of me.
If I had had a ’50s-style hair tutorial to follow, my look might have turned out a little bit better. Here’s what I’ve learned from nearly a decade of perfecting the look.
You’ll need volumizing shampoo and conditioner, a volumizing mousse, a blow-dryer, a round brush, a set of hot rollers, a claw clip, and hairspray. This look works best on chin- to shoulder-length hair.
Some people swear by only curling dirty hair that hasn’t been washed, because the oils in your hair help hold a curl. My hair is thick and curls well, so I prefer to start fresh. To prep for this look, I used Herbal Essences Body Envy volumizing shampoo and conditioner. I also used a strawberry-sized dollop of Herbal Essences Body Envy volumizing mousse, which I applied by flipping over my head and working it through my roots.

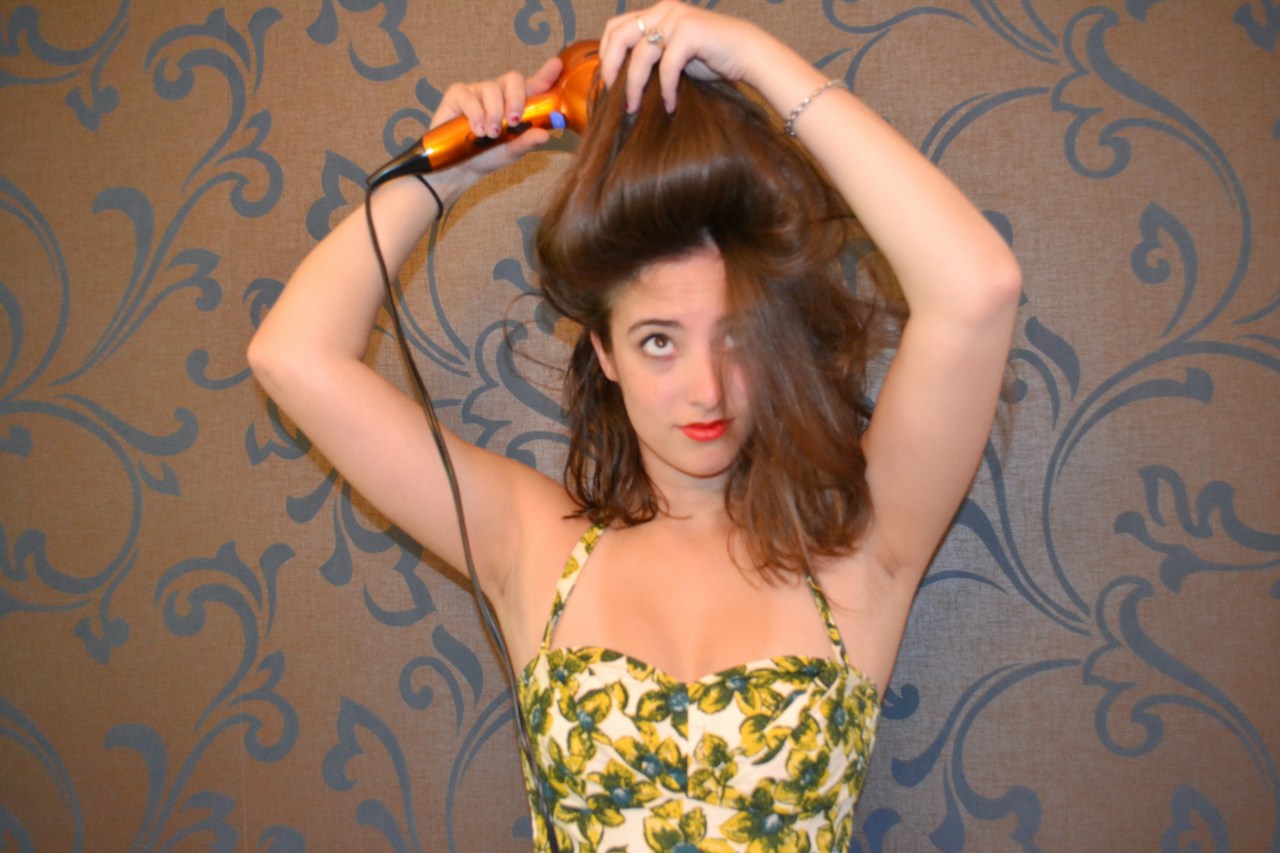
When your hair has air-dried half way, blow-dry with the goal of creating volume. In order to create huge hair, you want to constantly be lifting your hair up and blow-drying it away from the direction it naturally falls in. I like to flip my head over to the front and blow-dry from the back, then flip all my hair over the top of my head to the left and dry the underneath of the right side of my hair, and then finally flip my hair to the right and dry the underneath of the left side of my hair. I also like to pull up the front section of my hair and blow air at it from behind. This boosts volume and dries your hair quickly. Don’t worry about making it look perfect or getting your hair straight – you just want your hair bone-dry and full of volume.
Create a side part, then gather the majority of your hair (everything above your ears) and clip it out of the way. If your set of hot rollers includes multiple sizes, you want to use the largest size for the bottom portion of your hair. I used five rollers – one on each side and three in the back.
To create a curl, brush out a section of hair no wider than the width of the roller. Pull it up and away from your scalp and hold it at the end. Place the roller over the ends of your hair and begin to roll it up towards your head (your hair should go under the bottom of the roller, not over the top). Pin it against your scalp, and repeat!
It’s at this point that my camera decided to go blurry. But fabulous hair cannot be put on hold for anything, not even flaky technology, so let’s ignore that and keep rolling.
By now, you can see I had already completed the row of curlers on the bottom portion of my hair and had started the row on the top portion of my hair. You can play around and develop a pattern of curlers that work for you, but here’s what I’ve found works best. Start with one curler at the back center of your head and work outward from there, leaving out the front section on each side. We’ll come back to those in a minute to give them special attention. You might need to do two or three horizontal rows of curlers for the top portion of your hair if your hair is very thick.
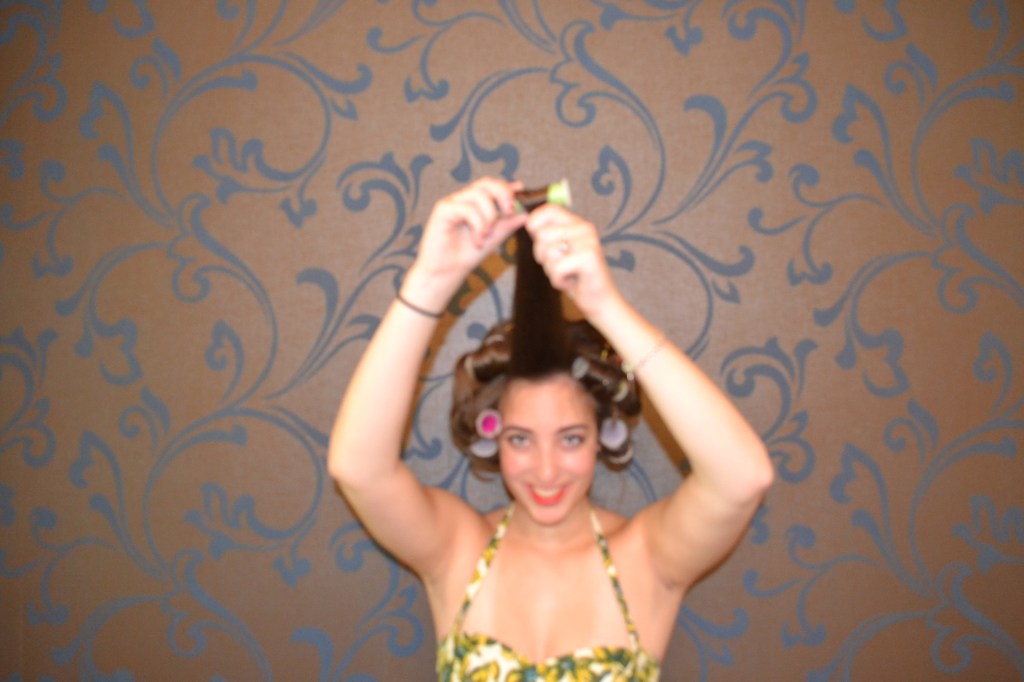
The most important curler is the one on the heavier side of your hair at the front. This creates the shape around your face, so pay close attention! Roll your hair over the top of this curler to create volume.
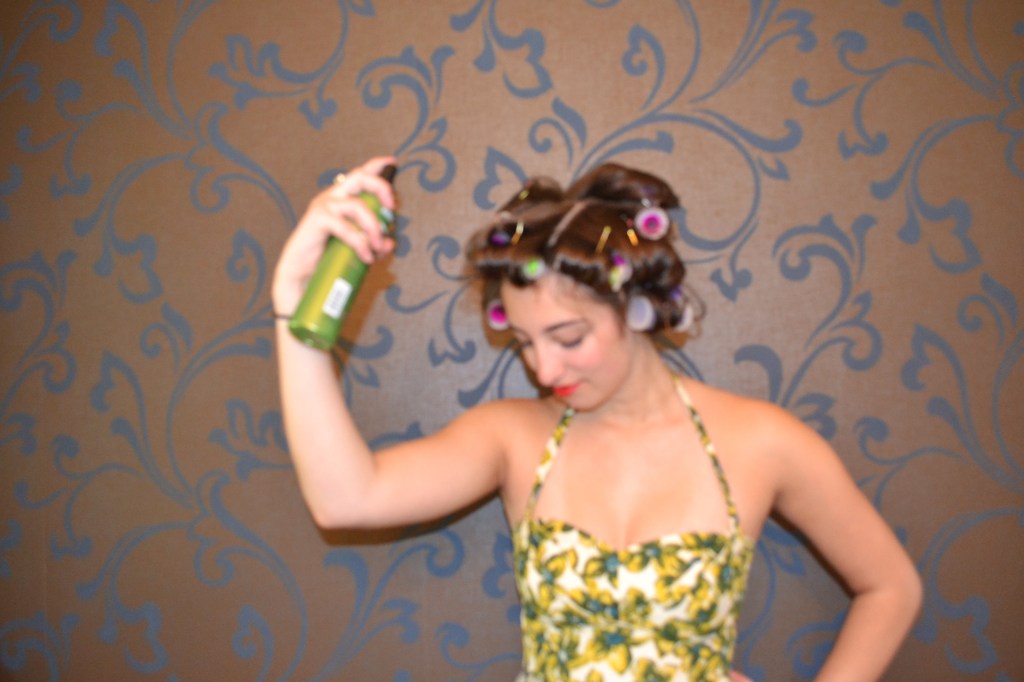
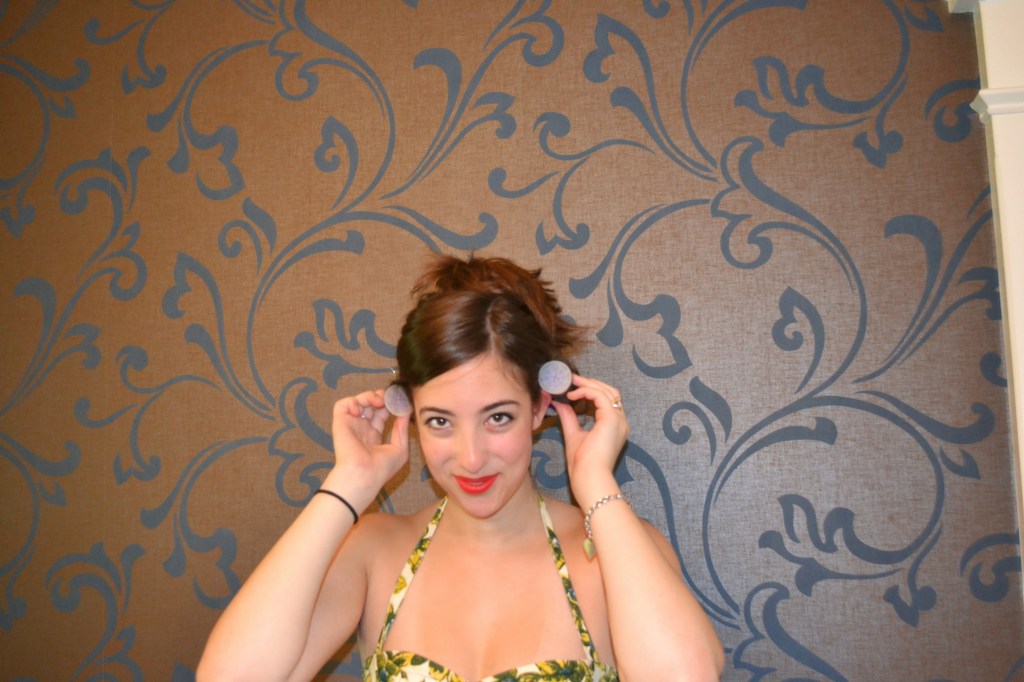
My set of hot rollers includes three sizes: small (green), medium (pink), and large (purple). I do the largest size curlers on the bottom and back of my hair, and work in the smaller ones as I move towards the front to create the most definition and body around my face. Once you’re all pinned up, mist your head gently with hairspray. You need to wait until the rollers cool down before you can remove them. I like to wait for 20 or 25 minutes. This is a good time to get dressed, do your makeup, or eat breakfast. When you have a head full of curlers and a swipe of lipstick, you feel extremely glamorous, so make the most of it. I suggest taking at least a couple selfies.
If your hair is particularly reluctant to hold a curl, wait until the rollers have mostly cooled, then blast them with the blow-dryer. This should reheat the rollers to a certain extent and allow your hair to set for a longer time. The result will be curls that hold their shape and bounce for longer!
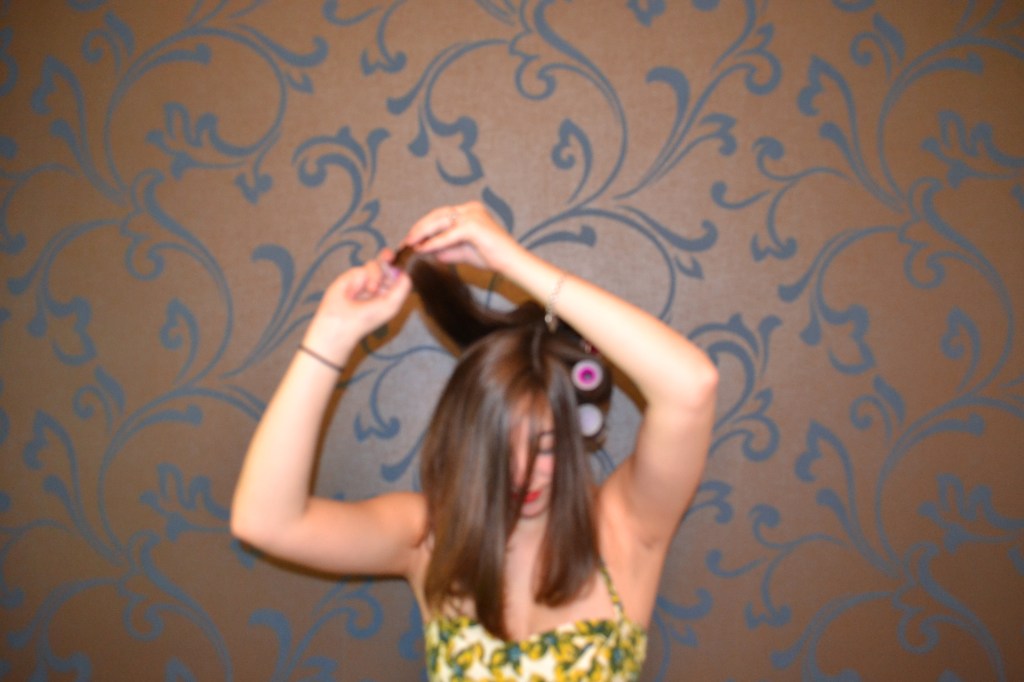
Once your hair has cooled, unpin the rollers. Start with the back and the bottom, and move out and up as you go. Your hair likely looks awkward and stiff at this point, which is totally fine. Flip your head over and gently (key word here: gently) run your fingers through the back of your head. Play with the face-framing curls until you like the way they fall.

Check out the back view, too. Like the way you look? Take a page out of 1956 and lock your glamour into place with hairspray, hairspray, and more hairspray. If you begin to suffocate from fumes, call Joan Holloway; she’ll know what to do.
Go knock ’em dead, you retro vixen! ![]()